Bedroom sun tunnels (Page 5)
The last two weekends
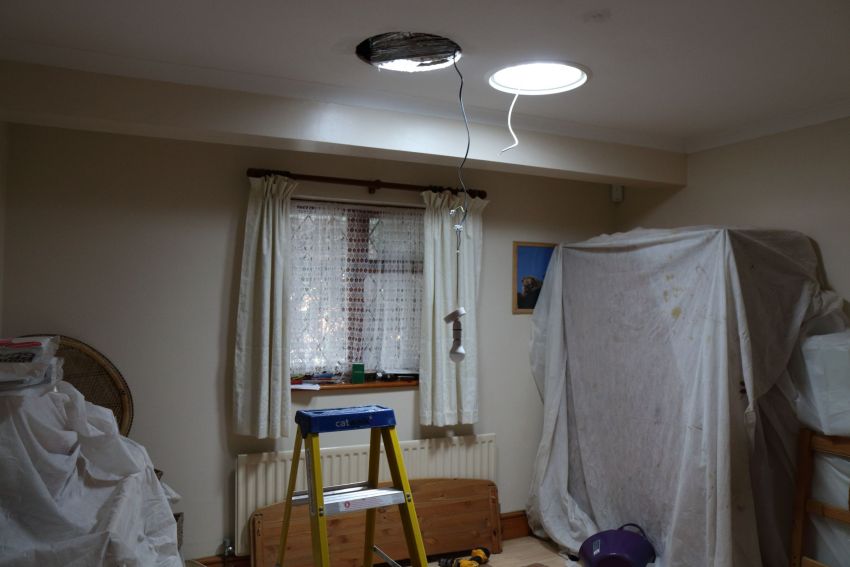
So its been a couple of weeks since my last update on this project. The main reason is after the interior part was completed (during the second to last weekend), there was still some stuff to finish in the roof area. However this didnt stop moving back just that wasnt completed until the next weekend. Installing the first tunnel was a bit confusing; as you dont know what to do. The first thing to do is to install the ceiling bracket, which is very easy to do. Next you have to pull the flex-able pipe through the ceiling bracket - which was a bit of bugger. Whilst doing so my hand caught on the wires a few times, and made some rather big cuts in my hands. After all that it was the matter of cutting off the excessive pipe then taping up the joins (to stop the critters getting into the room).After all that we managed to get the first tunnel installed (18th Sept);

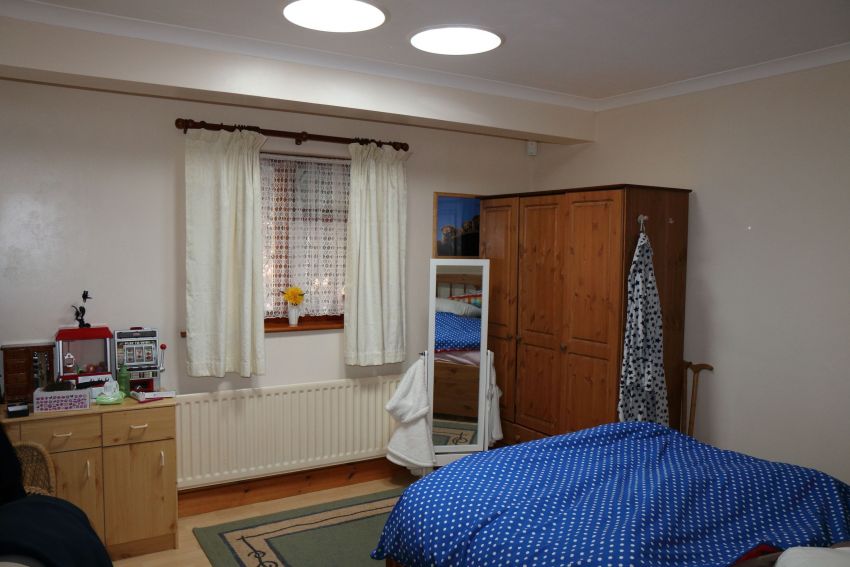
So the following day we started on the second tunnel. This was a lot easier because we had a better idea of what to do. So after a few hours we managed to get the second tunnel installed. We also installed the light kits, so the hanging down bulb could be removed. We did feel that the light kits were seriously over-priced for what they are. We didnt like how we had to poke an hole in the flex-able pipe to install the light kits neither. Anyway, this is how things after being completed;

So the two tunnels have made a huge difference to the room. The darkest room of the house is now on par with the rest of the house. We have noticed the tunnels can differ in colour depending on the suns location. Anyway, for those interested here is a before and afterwards picture. The before is on the left, whilst the afterwards is on the right;

So all in all, the two tunnels have made a real difference to the room just a shame it wasnt easier.
 Cookie settings
 Privacy policy.
 Login / Register