 Cookie settings
 Privacy policy.
 Login / Register
The upstairs project 2005 (Page 3)
Part 2, Roof space
The next thing on the list to do was the lightning system. Transformers are installed into the roof space basically so the cable runs were shorter. Each 12v transformer is mounted on some plaster board (just incase it gets hot). The blubs which are getting installed are 12 x 12v at 50watt bulbs. Theses light will be controlled by an IR dimmer with pre-set modes and with 2 circuits. Each circult will have 6 blubs on each making the total on each channel / circult 300watt. The circults are arranged for set 1 to be the front set and for set 2 to be the back set of lights. This is done as it allows you to either dim the front or back set of lights depending on what you are using the room for, ie. flims, reading, pc etc. Each circult can range from 0% to 100%, so it give a good range of different lighting styles. Here's a picture of the transformers in the celing before they were covered with plaster board:
Part 3, Air System
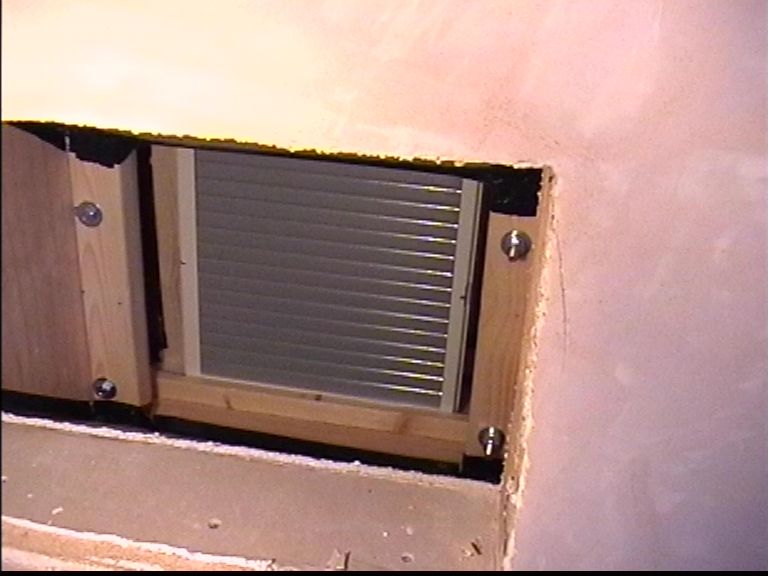
Next its onto the air-venation system is started to be installed. this will recycle the air around the room, and will be able to control how much new air to get from the outside ranging from 5% to around 50%. There will be also Air-con units will also be installed in the worse weather, so its nice and cool. As this room does get un-barely hot in the summer. Here is a picture of the extract grill tubing being installed into the roof: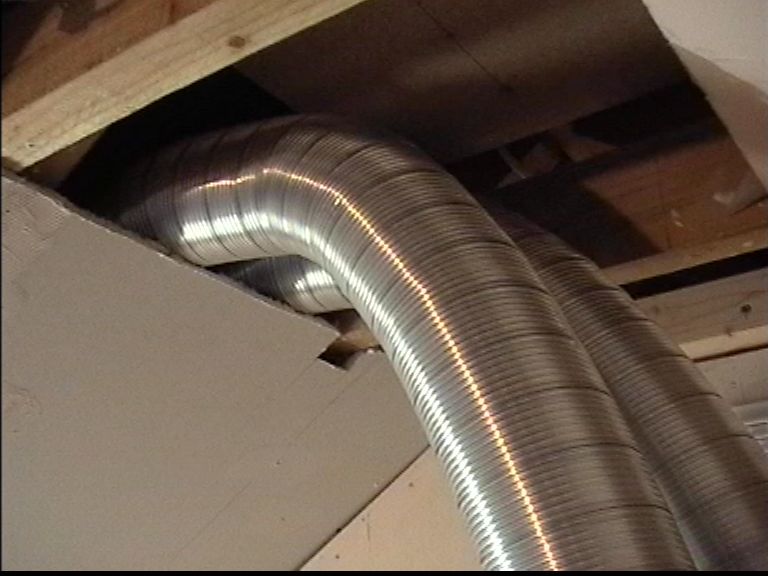
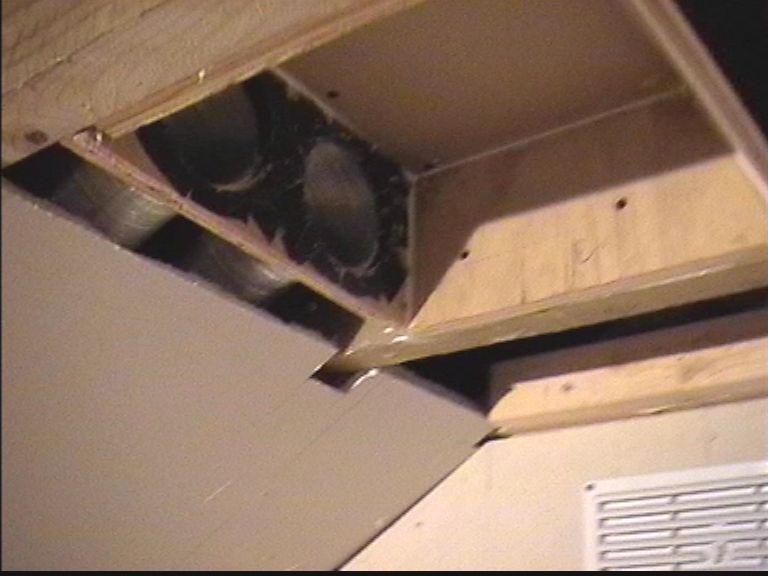
The next day got finished a kinda-of half box section of the extract grill. This part will be in the celing, and uses 2x4" pipes to suck out of the room any hot air. The fan for doign this will be a 12" ventixa, window fan (100w). There is also another 2 fans for extraction to the outside, which can be used. This are only 4" fans as thats really the biggest which could be installed in that area. Here is a picture of the half-section done of the air-extraction point:
Now the upstairs is really to get the celing plaster-board installed. As all the thing we need in the celing should be installed - or i hope so. Once the ceiling was installed, the next stage was to get the thing plastered with some finish plaster. This is to give a surface for the paint to go on. After all that had been done, it look something like this:
We now knew the next stage with carrying on in the room was the horrible sanding down. So thinking of that, it had been left in order to do the air system which would hopefully help filter the air - removing the dust from the air. After some time planning on how to use the window fan and connecting it to the outside and the two 4" pipes from the other end of upstairs, we started to built boxes to house the fan. We had many problems with it all as nothing was designed to fit anything else, and the worse thing was due to the fact it was a window fan (designed to fit in a window rather that in-line) it meant a big box had to be built to house the fan. After some time the box for the fan was created - it also didn't help that everything was tight on space to fit in that part of the house. Here is a picture of the fan in the fan box.
When the gril which allowed air to come into the room was removed, it look something like the below picture. As you can see the gray strips going across the fan are fan shutters which are designed to stop natural air from getting into a room (if the fan was being installed into a window).
Having that built we wanted to test the thing to see how it reacted on pulling down the two 4" pipes, so we quickly and temp connected together. The result where nothing special, the fan wasn't even pulling though a filter yet which would make the air follow even less. After sleeping on the matter, knew had to do something with it. It seamed that the air was simply not good enough to supply the air we need. Some time spelt on the net and we found it basically was the wrong fan for the job. Normally you think of a 12" fan is big and can cope with anything, but we was wrong. This meant the fan housing had to the broke away and took to bits. After hearing the fans we needed cost over £300 and more, it looked like the whole air system was going to be off.
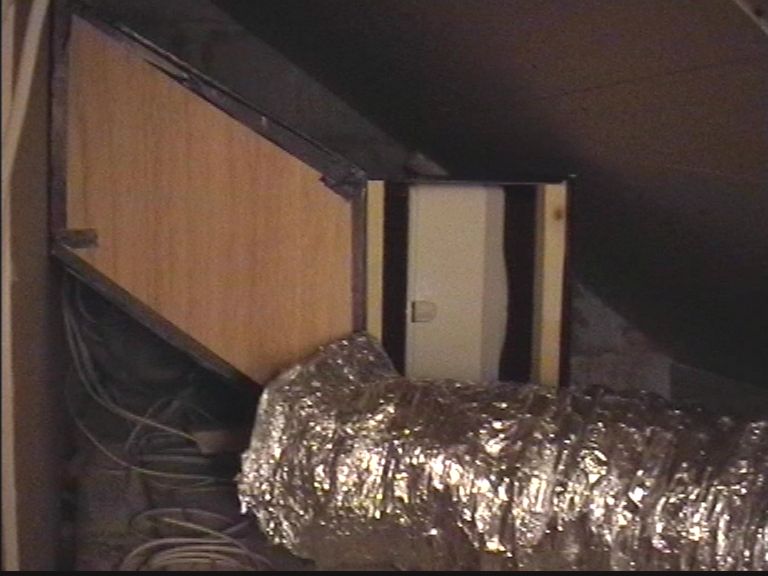
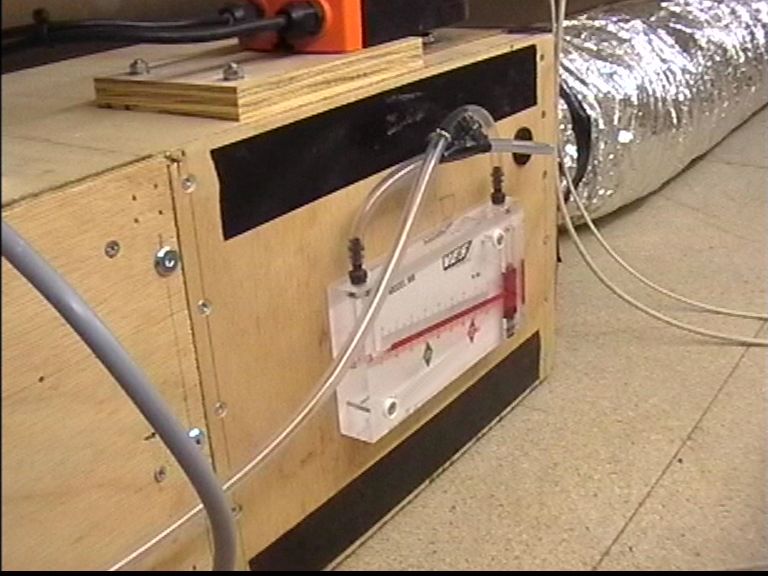
A couple of days later, RS had a fan with the pressure needed in a pipe system to suck air all the way down them two 4" pipes plus get some new air from outside, at a price which in range. Whist waiting for the fan to be delivered, we moved onto the air-filter box. This box would have a bag filter in before air gets to the fan and also get air from the outside. This box had to have a motor on the top of it control a vent internally which opens and closes to let more or less air from outside. We also stick on a thing so we could measure the pressure of the bag filter telling us when the filter needs changing by reading it. Here is a picture of the filter box:
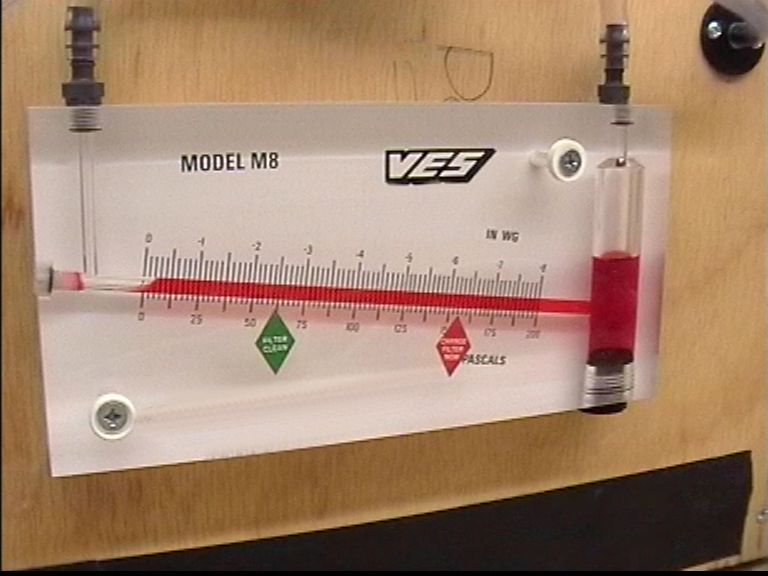
Here is an close up of the gauge which tells us how much the filter is blocked:
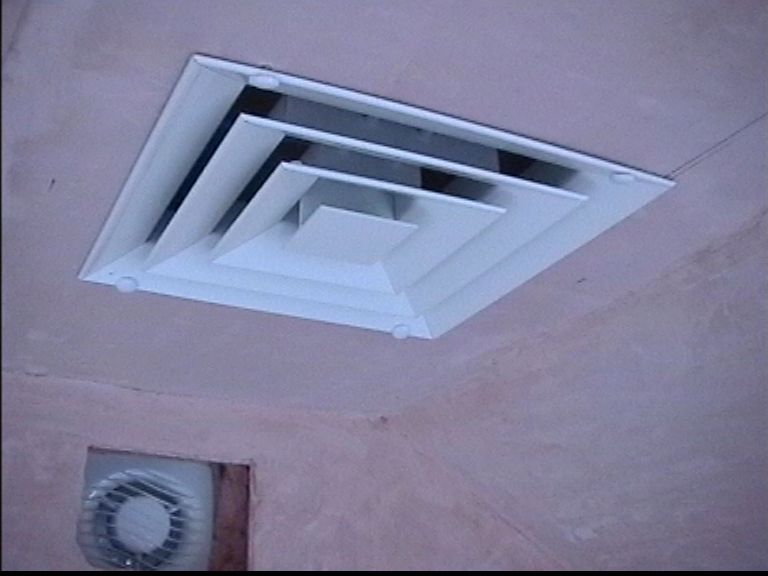
The second box was also made which connected onto the two 4" pipes and gave us one 8" pipe to go to one end of the filter box, the other end of the filter box going to the fan. Then the fan to the room. Finally it was time to installed the vent in the ceiling for temp:
Now this means the air-system is online and filtering the air. This should help in the hot days some what, but for now should help with the amount of dust in the room due to cutting wood, sanding down walls etc. Soon the sanding down stage will start - one of the things i don't look forward too.
Part 4, Sanding down
This is one the stages I hate to do as it offers such little rewards at the time of doing it. Has you may of guessed its sanding down the walls. This is down in-order to get the walls looking smooth and to give an better overal result. Sanding down also takes a lot of time and effert as well. Here is a picture from the sanding down stage - which i hope will be done soon..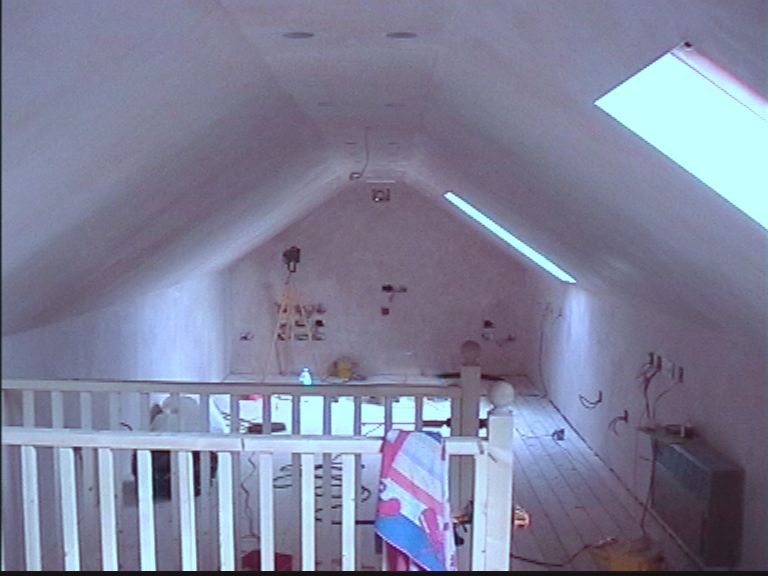
Next some of the final stages on page 4.