 Cookie settings
 Privacy policy.
 Login / Register
The upstairs project 2005 (Page 4)
Part 5, Painting and Electrical Installation
The next step on the project was to paint the room to the colour in the design (on page 1). The first layer of paint was an white one to seal up the wall, and as you may know white paint is a lot cheaper than coloured paint.After the white paint layer was applied then the coloured paint went on, this was an 2 colour style using a light yellow for our darker colour (ceiling) and a lighter yellow for the walls. I would post an picture of this, however the picture wasnt very good at showing this.
After the paint had been done, it was time to fit all the electrical items including sockets, dimmers, switches, lights etc. The dimmer is an Futronix P100 dimmer which is able to dim 600w max.
Part 6, Flooring
The next day it was time for the floor to be started. The floor would have two layers on top of the pine floorboards. The first layer is an sound deaden layer whist the second is an laminated floor. The sound deaden layer are green tiles which try and help keep sound going though them as under one area of the upstairs is two bedrooms. The tiles simply are placed on the floor at 45 degrees to the floor under (so joints don't cross) spaced at 2mm apart. Theses tiles will be installed across the whole 'upstairs' with the same laminate above it. Here is an picture of the sound deaden tiles being installed - this also shows the paint colours: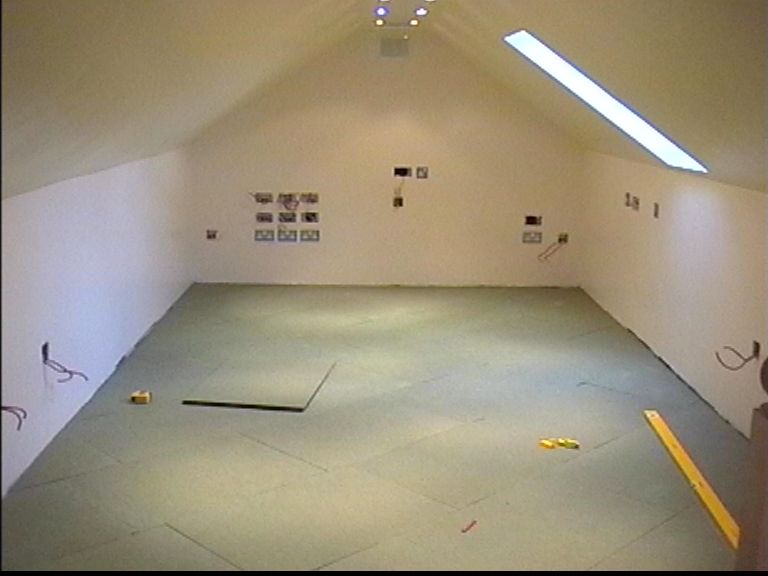
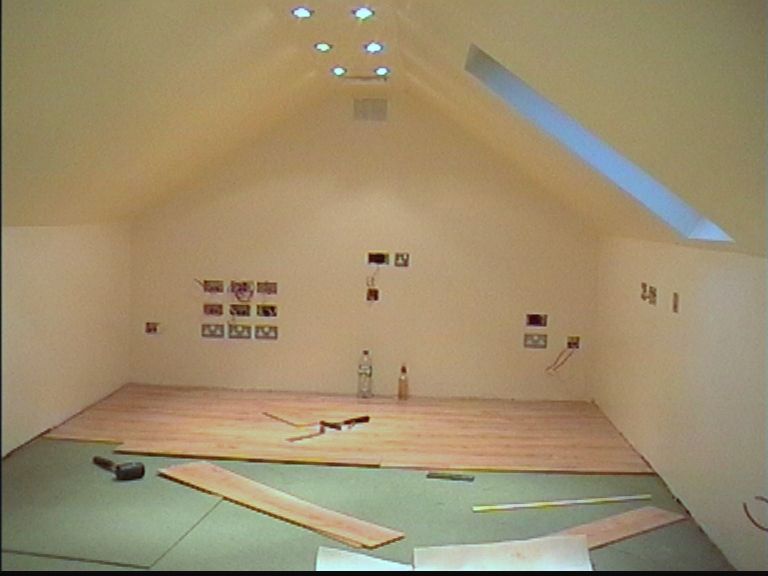
On top of them green boards laminate flooring is then installed directly above. The laminate flooring is an better one than the standard cheap one as this one goes in at an 15 degrees angle, then clicks down and thats it. Here is an picture of the laminate flooring being installed above the sound deeding layer (the green tiles):
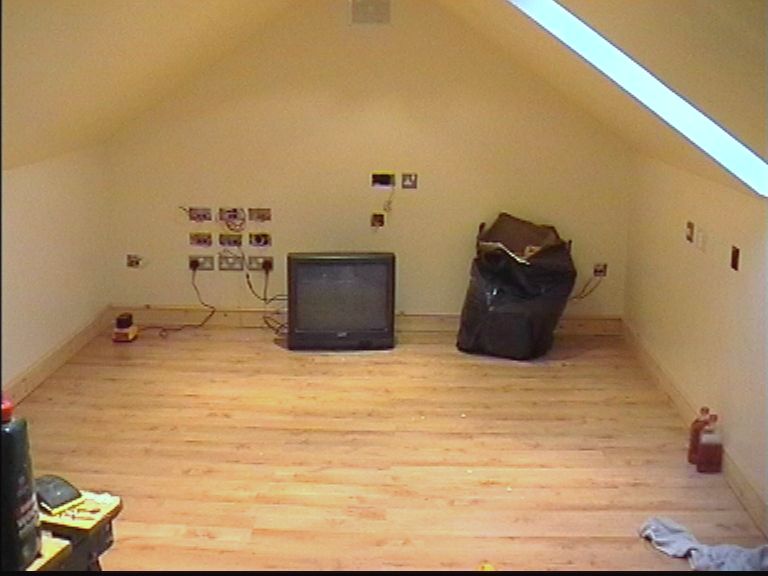
Once the flooring was down it was time to install the skirting around the room. This is used to hide any gaps between the laminate floor to the wall. Here is how it looked with the laminate floor installed with the skirting in area 1:
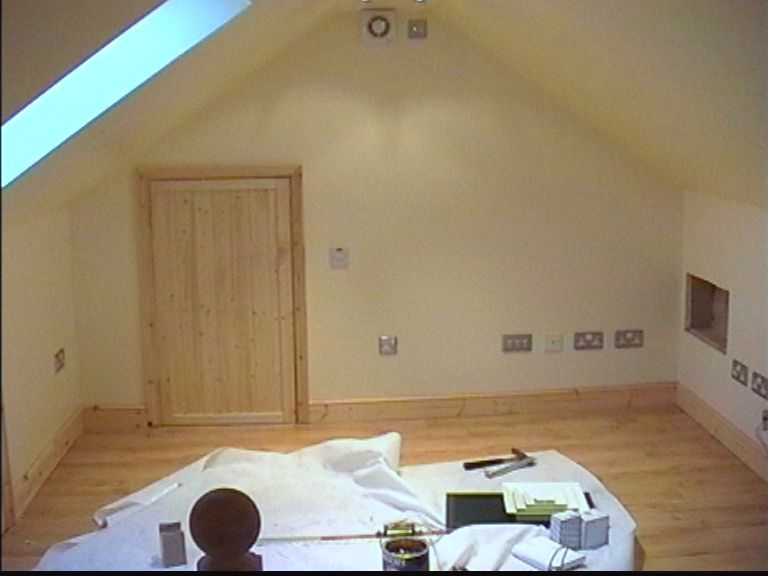
And this is how it looks in the smaller area of the upstairs, area 2 - the study area:
The next page contains the making of the speaker plates, which can be found on page 5.